Monday, November 16, 2015

My IUD experience Part 1

For the past three years with John we've struggled to find condoms that met our needs. I have a lot of allergies so even the brand we've used consistently gave me an allergic reaction, just less than others. When I weighed the pros and cons I decided that being able to have a safe, reliable method of birth control that wouldn't cause an allergic reaction was too good to pass up.
After discussing this with John I called my doctor for a consultation... which lead to a great appointment with a cute doctor and then a month later the insertion appointment came... and went as my doctor was unable to insert the device claiming my uterus was too small, when the reality was (so says a new doctor) he didn't get past my cervix.
Which brings us to today. I haven't had my iud insertion yet, Im doing that in a few short hours. The first time around I remember being extremely uncomfortable in the free clinic staring at three boxes skyla, mirena and the implant nexplanon (which I'm dead set against). The whole ordeal was uncomfortable and a tad painful, so this time I was prescribed Cytotec and told to take 800mg of ibuprophen as I've built up a tolerance to it from a rediculous number of headaches. I'm expecting some discomfort still, even pain, but I won't know until after its over.
The Procedure:
It's been about 5 hours since insertion. I was surprised at how easy it was. I read about a hundred horror stories but honestly the whole thing took less than a minute. Basically my gyno used a metal clamp to hold me open, cleaned my cervix then measured my uterus. That was the first big cramp, which felt like a really bad period cramp only longer, maybe 10 seconds? and then she gave me some time (I only needed like 30 seconds) to breathe and relax from that before placing the device, which was basically an identical cramp to the first one. I would say not to expect to be able to keep silent, I did... loudly complain but not scream, however the doctor assured me that it was alright to do so as it is a painful procedure. That being said it was very brief pain for 3 years of birth control so in comparison I find it totally worth it.  After it was in place I had immediate cramping and some dizziness. They assured me this was normal and had me and John feel an example of the strings so we knew what to look for when checking. They're surprisingly soft feeling cables and they're very thin so I can't imagine them being uncomfortable during intercourse.
So like I said it's been about 5 hours.
I'm a little nauseous, I did think I was going to throw up but I havent. I'm still cramping and every so ofte. they're painful but so far no spotting has occured. I'm not on my period but I imagine that would have made it easier. I'm taking it easy and hopefully they will subside completely in around a week.
I also want to mention that I have a friend who got Mirena and she loves it. She said the insertion was pretty bad and she cramped for around a week, the first day being the worst and after that its been great.
I'll update when my cramps are gone!
Until next time,
Courtney

Saturday, August 8, 2015

Peach's Guide to a Perfect Party

Okay let's get one thing out of the way: Nothing ever goes off perfectly. The key thing is to be able to roll with whatever flaws do happen. Sometimes you gotta think on your feet other times you have to be able to laugh something off. Above anything just DON'T STRESS!

,
I read once in a book that the key to a great party was not to stress over little details and over-plan. Now for me that doesn't work. I'm not saying I over-load myself last minute (okay sometimes I do) and plan huge elaborate parties, but big parties on small budgets are my thing.

For me half the fun of a party is the planning and design stage. Regardless of whether I'm planning our annual interactive murder mystery, secret Santa, birthday party or just a fun get-together I always get an outline of what the party is going to look like. This generally includes a preliminary guest list, color scheme, theme, dress code, and what food, if any, I'm serving. After going through and deciding those things I start focusing on other things like activities obviously our clue parties are one giant activity but we also do photo shoots there and all sorts of little details. I'm going to skip over those things because I have whole blog posts dedicated to those parties.  For  now I'm going to guide you through the other aspects and details of parties and I'm going to assume you can coordinate color schemes and activities.


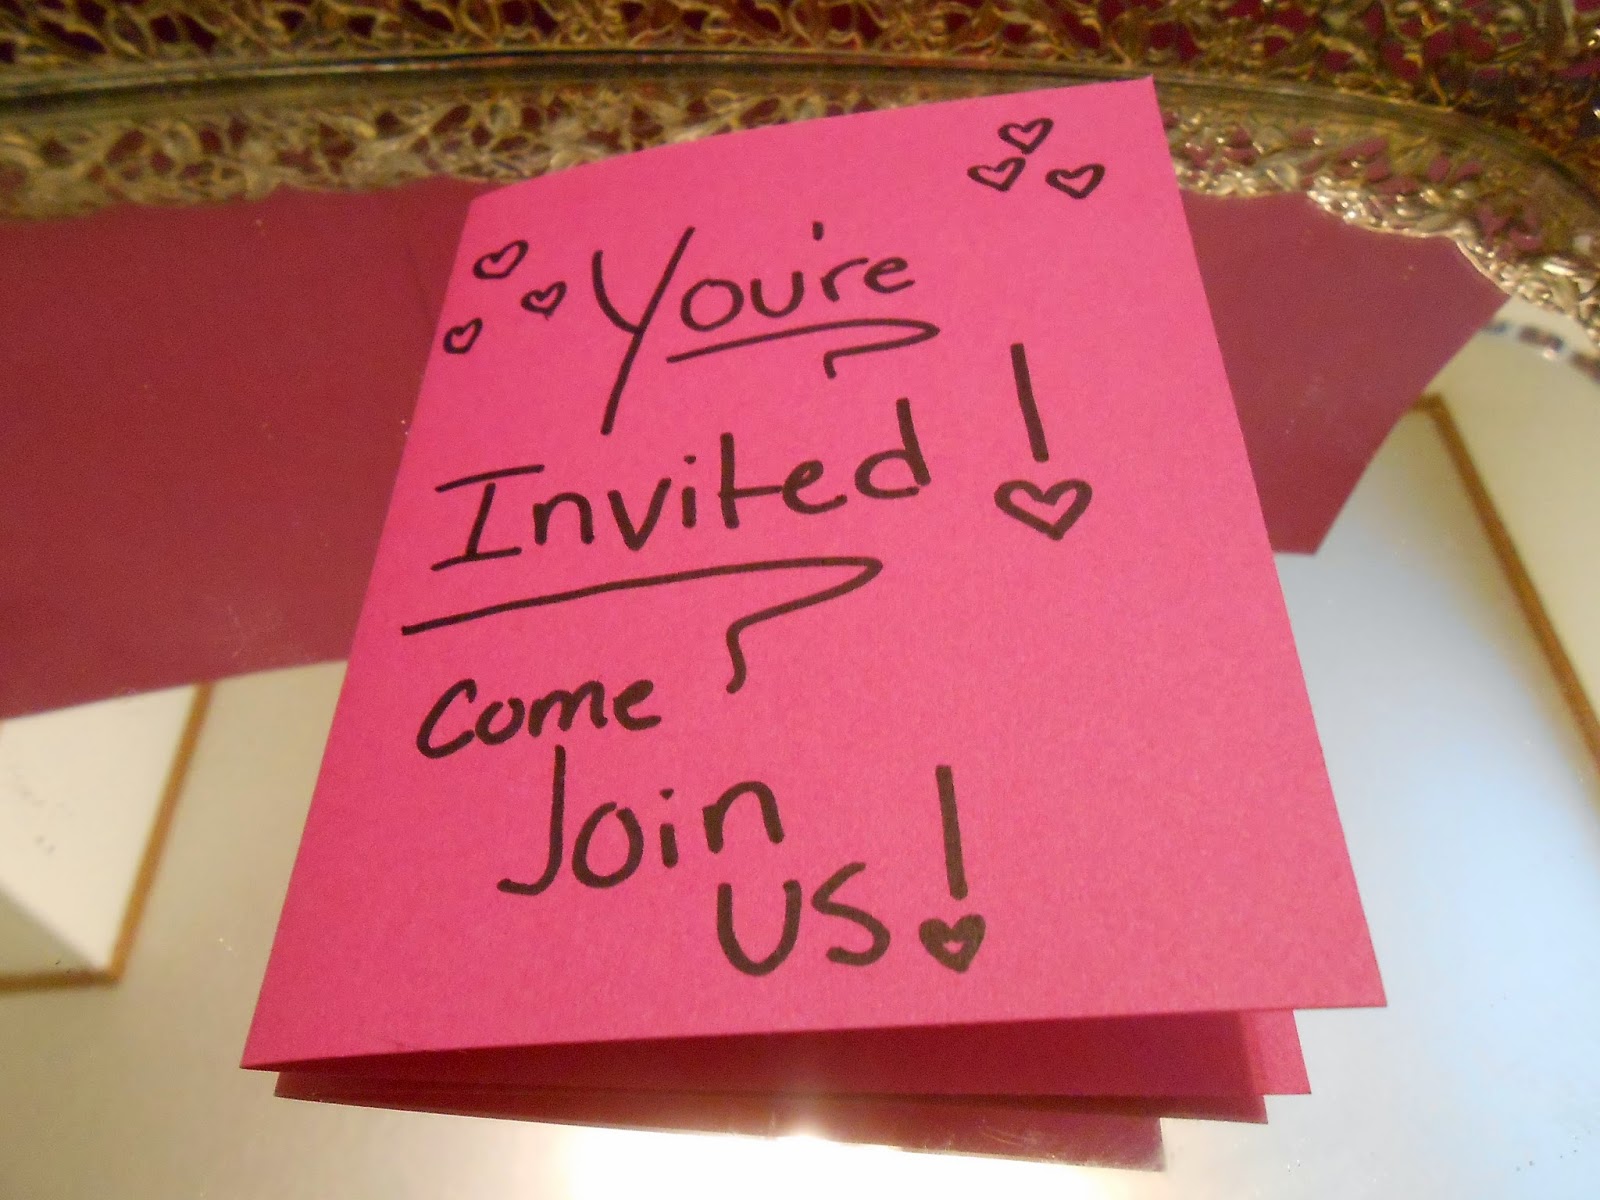
Invitations and Thank You Notes: I have decided that these are pretty similar. They are the only thing outside of your actual party that relate to it. Your invitations are the first thing your guests see. They are the first impression for to the overall atmosphere of your party. For example if you send out dollar store "You're Invited" invitations with confetti on theme and the basic writing inside with blanks for your own information, you're guests see that you are throwing a laid-back birthday party. If you send out layered cards with fancy writing that's all typed nicely and is designed to say what it says your guests see that its more of a formal affair and would gather they need to dress nicer. Now if it's a clue party we also include a little note on a separate card with some additional information like dress code, official theme name and whatnot. Basically your invitations and thank you notes should also match the theme. They should hint at what the party is going to be like. For example if you were throwing a child's birthday party and it was Frozen themed the invitations might have snow flakes, ice and Olaf on them. They may also be blue and say frozen. The same applies to thank you notes. The key difference is wording invites will generally be generic words that are the same for everyone. Thank yous on the other hand should be personal. People want to know you care and were paying attention. If you received gifts at the party have someone sit down and write who gave the present and what it was so later you can refer to this and send the right thank yous to people (something I picked up from my mom).

Decorating and Theme: It's not like the theme just stops with the invitations and your guests are expected to imagine that the location alone totally fits the theme. Even if it's a dinner party and you don't have an elaborate theme you still may want to set out nice vases and napkins and a good table-cloth. Once I threw a girls lunch and it was all just very rustic. I had a burlap table runner and some purple printed cloth napkins in mason jars with straws and silver wear. It was nice because it fit the look I was going for. If your theme is more of an experience go with things you may find there. We had a cop -themed murder mystery once and we set up our space to look like a crime scene- just not super gory. Again with the frozen party you may have streamers in coordinating colors and things with Anna and Elsa hanging around the space. It doesn't necessarily need to be expensive.


Your Table Set Up: This is one of those things that I feel like deserve it's own section. Simply because it ties into decoration but it also has it's own practical element to it. Big fancy parties with hundreds of people would be better off renting everything from the tables and chairs themselves to the plates, linens, and eating utensils. For that kids party we've been talking about you might buy paper plates and cups that are frozen themed and get plastic silver wear in a coordinating color. For a smaller dinner party you may have nice dishes in your cupboard already that you can use. But it also depends on clean up preferences. If you don't mind doing dishes use the real stuff. If you just want to toss it get nice-looking paper plates. We sometimes get square paper ones to look like real plates but not have worry about clean up. If you're throwing nicer parties more often or have a nice annual party you may want to consider buying a set of plastic dishes that look fancy that you can wash and reuse. We found a set at a local grocery store. It's $10 per set and we're thinking of getting two sets. So for $20 we'll have plates and silverware for  several parties and if one of our friends does drop it it wont be as likely to break. Plus if it does break it's not the end of the word because it was plastic. If you don't want to deal with that there are plenty of disposable ideas at the dollar stores and party supply stores. As for chairs and tables, if you rent a space you may be able to use there tables and chairs for no additional cost, If you need more they may have some for rent at with a fee. If you are using your own space you probably have a table and chairs if not maybe look into investing in a folding ones? The other thing that goes along with that is table cloths and runners. Those just use your best judgment on, keep clean up in mind as if  you are using your own table cloth you will have to wash it later.


Guest List and Seating: I've always felt like these two things were kind of the same problem. You have to figure out who you want to be invited THEN if you have a fancy-er party you have to figure out how to seat everyone in a way that avoids conflict. I have a small file on our Clue parties and a whole section is dedicated to who has conflicts with who and what people I can and can't sit next to each other. It's actually gotten that complicated (that's just our friend group though). The thing is you have to know which of your guests, if any, don't like each other. For example I have these two friends who used to be close but now can't even tolerate each other. It's actually bad enough to where I have to seat them on opposite sides of the room. But I HAVE to know that or else we could have a repeat of our senior skip-day trip- trust me that was a disaster. If you don't know there is a conflict between guests and you find out mid party handle it calmly and try to maneuver seats if at all possible. If they cause a scene just remember it isn't wrong for you to ask them to leave-it's your party. Most likely they'll just calm down and suck it up.

Party Favors and Prizes: To me this is the fun stuff. For kids parties favors can just be things that make noise and candy plus maybe some cute toys from the dollar store in a little cellophane bag. But what about for adults? Well let's be honest here, candy is still totally an option just make sure, like with children, you take allergies into consideration. But cute little toys? Generally no. Some fun things we have done/ would do are: shot or other drink glasses, plaques or certificates, or $5-10 gift cards to itunes for winners. For party favors this year we are doing personalized flashlights, but we've also done key chains, and fun photos.

Food and Drinks: Are you serving a meal? What about just doing nibbles? Are you even planning on feeding your guests? In my experience food is a great way to get people to mingle. Just check with your guests ahead of time about dietary restrictions. If you have lots of guests you may want to consider labels for all your food and drinks so people know if they need to stay away from certain things. What about drinks? Not gonna lie we have totally just stuck with two-liters for more casual affairs but we've also made fun mocktails for our guests at parties too. An idea we came up with this year was to have an "open bar" it was really more for laughs because we're having a 20's themed party of sorts and we're all underage. We'll be serving pre-mixed mocktails to our guests with fun names. As for our food we usually do a full blown meal but this year we are opting for a soup and to have little nibble-y things laying around for guests to eat. Food is something that will eat up a budget fast- pun completely intended. So if you are planning on a lot of guests and you have a smaller budget you may consider opting for munchies laying around the room or if you are insistent on a meal go for something like vegetarian pasta dish that can feed a lot of people easily. Chicken is also pretty cheap so if you want meat it's a great option. I think last year I chose my moms pasta salad and  pigs in blankets since it was more casual and a really cheap fun meal.

So that just about sums it up. I know it's a lot of information but that's what I think is important. For me the key is in the details. I appreciate when someone pays attention to the little things. Just don't stress yourself out over things. The party isn't going to be any fun if the host can't relax and enjoy it too. That goes for kids parties relax and keep an eye on the kids. It's all going to be awesome...as long as everyone is having fun.

until next time,
Courtney and John

Peach's Party Filing

Okay so more like Organizing and filing. I wasn't joking about having a file for our clue parties. I actually have one. It looks like this:


However you don't need one of these for this post to be relevant. This is simply the basic information I use to organize a party. I just happen to need a file since all this material is not readily available on a blog for me to check out any time I want to...*hing hint...new party being posted in a few months!*


But I'm not going to go into how I made it my filing system. What I am going to go into is how I organize my clue parties. Now this is a little different from planning. In the planning stage I get to play with invitations, thank yous, guest lists, prizes and all sorts of fun crafty things.  This is a little less crafty, although I still get to be creative so it's okay.

When we open up my filing box you see this:


There are eight different sections for me to keep track of everything I need to know.  I'm only going to go over four of those sections. The other four are pretty much just what they sound like. Available names is just pre-made notecards with different aliases so I don't have to think too hard if we're adding another new guest. Banned/disqualified guests are just that, and past themes and future themes are either themes I've done or want to do. So let's get into the stuff that actually needs a little elaborating.


Invited/Returning guests: I keep the new guests in front so I can check at a moments notice and all returning guests go behind them. Now I have personal information on actual people in this section so I can't show it to you. But basically I have the persons name, mailing address, phone number and if they have a facebook. This is so I can contact them if I need to get an RSVP, send invitations and thank yous by mail, or update someone via text about the party if they aren't able to participate in facebook conversations. I also have their color/alias on their card so I don't have to search through names. That is really more to help me. For this you probably wont need more than a guest list with corresponding aliases and a phone number for each guest.


Current Party Data: This section is where I keep all my clues. I have each clue color coordinated by type then numbered. The numbers are for my easy-cleanup. I write down on each clue where they are located in the room as I hide them. This just makes it easier to find. What I'll do is put sticky notes on the front of each card. You can just print out the clues and write all of that information with a pen  if you wanted to use my clean up system. The other thing that is in this section is everyone alibis. These cards are made a lot like the guest cards except they just have the alias on them. I tape the alibi onto the back of the card so I can use the same card next year. Again you can just print these out and write names next to them.


Conflicts Between Guests: This is where it gets a little interesting. You may not need any information on this unless some of your guests don't get along. The problem I see is that our guests get a little too into character and start becoming mean to each other. We started recording these incidents so we would know in the future if someone was repeatedly doing this and if we should continue to invite them if they are hurting our other friends feelings. This is also the section where we record who we can and can't sit next to who because we do have some friends who just don't get along. It's mostly to avoid conflict.


Current Party Information: So unlike current party data, the information is things that are more relevant to the theme, so research that I may need to make it more realistic, relationship webs so I can keep track of characters, the story we write every year for our guests. I also keep our donation log and RSVP list there.


Which brings me to the last thing I wanted to bring up: Funds. Money is not readily available to everyone and parties like this can be expensive. So while I hit sales year round in preparation for this event we also recently started asking our friends if they would be willing to put a little money toward it. We decided on a suggested $5 per person and it was by no means necessary. This will be the third year in a row we've done this so we have a group of adults who are excited about this party and want to see it happen. Two years ago we wouldn't have asked this simply because they wouldn't have been interested in a party they weren't sure about.We're okay asking now because we know our particular group wants this event to happen and it's something we all look forward too. We don't like to ask for money but our friends also understand it's expensive and they want to help in any way they can. We really appreciate that and we don't take any of that for granted.

So that's all I've got for this post. Hope this helped you!

-Courtney

Friday, August 7, 2015

Or Maybe Not...

Remember 4 months ago when we went our seperate ways? Yeeaahhh, that apparently didn't last. We're back!! Youtube videos will resume shortly, we're just in the process of moving into a bigger place. Yep we're moving in together after just about 3 years. So while posts may become kind of spotty they will have a normal schedule as soon as things settle down. This is going to be kind of a short post but we've been super busy with the moving preparations, work and re-building our relationship because we obviously want to keep that a priority. :)

Until Next time,

Courtney and John.

Monday, May 4, 2015

This is Goodbye...

Unfortunately it's not a joke. Romance in Harmony has been great while it lasted but on Saturday May 2nd, our relationship ended. As much as we didn't want to do this, there was just too much going on. So thank you to those of you who ended up here, who read or liked this blog. It was fun while it lasted. I will be leaving this blog up but I will no longer be updating it. So if you wish to access it's content in the future it will still be here.

-Courtney

Monday, April 20, 2015

DIY Cop Party Props

I think My favorite thing about doing parties is props. I love seeing how many ways we can personalize our them to make the best experience possible. Aside from DIY invitations and thank yous here is what we did to make our cop party more realistic.

Name badges: This one is one of my favorites. The best part about these is that they work for party favors as well.


  What You Need:

- Blue, Light Yellow, Gold, and Silver Cardstock (I had this at home but you can buy it for less than $0.99 per sheet)

-No heat/machine laminating paper ($6.99 at Joanns Fabric and Craft Store, sometimes you can find half off coupons in the Sunday paper.) OR if you have a laminating machine use that

- Craft Glue

- Black Silky Cord (Around $3 or $4 at craft store)

                                             - Lanyard Hooks (I bought mine in this assorted pack for $5)

                                            - Hole Punch, Scissors, Fine tip sharpie

1. Measure out blue (or desired color) card stock We cut ours 3 inches tall and 2.5 inches wide.

Next find a picture of a police badge clip art online with an easily traceable shape. We cut ours to be just under 2 inches wide and 2.5 inches tall. Print it out and trace it onto some sturdier card stock to be a template. Trace the template onto the back of the silver and gold card stock and cut out.


We then cut out the name pieces like this:


Our top one (for the title) is about 1.5 inches wide by 1 centimeter tall and the bottom one (for the name) is about and inch wide by 2 centimeters tall. We positioned them with the top curving down like a frown and the bottom curving up like a smile. Write the corresponding names and titles on them and glue them to the metallic cardstock. They don't stick super well so you will want to carefully laminate them. If you are using the non machine paper, place the badges carefully on the paper with the backing off. Try to lay them as straight as possible. Leave half an inch of space on either side to make sure the laminate can stick to the second piece. Leave 1 inch on top to have room for the hole. Place the second piece of laminating paper on top as straight as possible. we used a ruler and pushed down as we laid the second piece on top to avoid air bubbles. You may need two people for this.

Once everything is laminated, cut out your badges leaving a little space on either side so it stays laminated. Leave 3/4 of an inch on top and punch a hole through the center of the left over laminate. Add your lanyard hook then string the black cord through it. I made the cords around 2 1/2 feet long since they were for adults. We used a sliding knot to make it adjustable. I used this tutorial to learn how.


Mugshot Background: This one was a huge hit with our guests. Last year was the first time we did a photo booth area. This was super easy to make, it was just really time-consuming


What You Need:

- 4 cardstock poster boards (I believe these we either 2 for $1 or $1 each at the Dollar Tree)

-A couple Sharpies (I would buy some cheap ones since I ran at least 2 out of ink)

-A Ruler/ yardstick

- Masking Tape

                                            - White Out

1. Tape All four pieces or cardstock together to make one big sheet.

2. Take the height of your tallest guest and add 6 inches. Out tallest guest is around 6 feet. So we went 6' 6" for out top height. From that inch height (6' 6" inches for us) measure down to the next foot marking each inch on the side of the poster. This will be the bottom of your inch mark. Make a thicker line (leaving a big space for the number) for the foot mark. Continue down to 3 or 4 feet (wherever you run out of paper). We went down to 3 feet since our shortest guest was under 5 feet tall. Keep in mind that the thicker lines are an inch thick on ours so the top of the line for example would be 5' 1" and the bottom on the line would be 5' 0".

3. Use the ruler or yardstick to draw straight lines across the poster. I recommend marking each side then drawing the line straight across to make sure it was straight.. I actually did the left half of the poster first then drew the lines on the right half to keep things even.

4. If you mess up any of the lines (and trust me I did) go back and use white out to fix it/ Make sure you leave space on the left side of the poster without lines at each foot mark. I chose to cut out big numbers from cardstock and glue them onto the space. You could also draw them on.

5. The last thing I did for our photo shoot was the board that I'm holding int he above picture. I simply cut out the letters and numbers on white cardstock and glued them to a piece of black cardstock. The numbers I picked were actually just the date of the party. 10/24/14


Masking tape body outline: I don't have a picture of this but I'm sure you get the idea. Basically we couldn't use chalk where we were at but we had some masking tape. So John laid half on the ground and leaning on the pool table in the position we wanted our imaginary victim to have died. I then taped around him with the masking tape and we had our body outline. For an added touch I had some window clings that looked like blood spatter from the dollar tree so we placed those around the outline.

*Just on a side note if you have electronics for music or your camera you can make little tents by folding paper in half and writing "Evidence Please Do Not Touch" on them. We did this for our laptop so people wouldn't mess with my playlist and for my little camera. We also had some evidence markers from a kit with numbers on them and they were plastic but you could just fold yellow cardstock and make cut outs of numbers.

So that's all I have for this one. Feel free to make suggestions in the comments!

until next time,

John and Courtney

Friday, April 17, 2015

The "Perfect" Relationship

 By Courtney


As a kid we grow up watching fairy tales and movies where two people fall in love and they live "happily ever after" we assume that means their love is perfect and their relationship is perfect. One thing I learned from dating is that every relationship is different. Not just the ones that don't work but also the ones that do. My dad once told me to never try and have the same kind of relationship as another couple. He had a point, His and my mom's relationship is wonderful but that type of relationship isn't one that would work for me. My grandparents are another good example they were very much in love until the very end and though I want that kind of love, they were faith based and happy to be a hard-working American dream kind of household. I actually respect them for that. But John and I have a very different relationship than them. So here is my theory:

We can disagree, we can feel differently about something, we can look at things from a different point of view because we are two different people. And that is perfectly fine. Actually I think that is something that makes us stronger. Yes we have little tiffs every now and then when we can't seem to see eye to eye, but we always work it out. To us that's the key: communication. Sometime we have to take a step back from each other and work through things on our own. Often times we have to stop and understand the situation from the other persons eyes. I think that is out biggest flaw, we are both very stubborn about things. But who's to say that that is right or wrong? It's right for us.

We've had friends tell us they want a relationship like ours, and I'm seriously here thinking "No. No you don't" not because our relationship is bad, it's very wonderful, fulfilling and loving, but our relationship is built on some pretty unique things. We've had similar life experiences even at this young of an age that have caused us to operate differently and one of the reasons we click so well is because we understand each other when to other people our words or actions might seem irrational. Of course that's not the only thing we bond over, we work very well as a team where I can be very creative, John is very grounded and somehow we manage to pull together and make things happen. We both like some similar music (country). I'm not going to say we are totally the same, we aren't, yes we have similar likes and dislikes, but we also have some big differences I throw myself into projects in a way that drives him insane because I wont focus on anything else, and he is very laid back and tends to wait until the last minute or does projects pretty slowly. I like to plan everything in advance and he is pretty go with the flow. But that's not a bad thing. We end up just balancing each other out.

Okay, so at this point you either think we are going to fall apart or that we are perfect for each other. Honestly, I don't care what you think of our relationship. He's my best friend and I know I am his. The point of this wasn't for you to get an inside look at our relationship, it was to share something I think is important: You are an individual. No Relationship is the same as another because we are all individuals. The point of relationships is to work as a team. If you're a serious couple do yourself a favor and just figure out how you work. Nobody's love life is perfect. Even the happiest most beautiful, fulfilling relationships need to be continually worked on. It's because we are all growing as people whether it be as a team or by yourself.  So don't try and be like the movies or your parents, be like you. Because you is pretty awesome.

Until next time,

Courtney

DIY Cop Clue Party "On The Scene" Inspriation and Everything you need!

 
Two years ago we threw our first annual Clue Party.  It was really just based off the 1980's movie and the board game, but since this was a new thing for our group of friends, it was still exciting. The next year we had to bump it up a notch. We decided to go with a crime scene theme, all of our friends would work as cops or investigators and they would figure out which one of them "murdered" their "associate".


Photo from DIY Mugshot Photobooth


When we did our first party, we established a system for how everyone would figure out "who dunnit". We took notecards and wrote "clues" and then hid them in envelopes around the room for our guests to find. This year we went with the same system but the envelopes and notecards look different. However we had to make one crucial change.


Hiding the clues for the first party was a two minute process and a month long clean up. We literally found clues a month later. When discussing clues this year we came up with the following system:

We numbered the clues and made a master list (not shown). This list had everything from which clue was what number to where each number was hidden in the room. We also enforced a rule about putting the clues back exactly how the guests found them.

We disguised our Master list by calling it a master notebook and making it look similar to the ones we passed out to our guests. In the notebook we also included our opening and closing speeches, a list of all the guests and thier assigned aliases, and a place to write how many guesses each guest had made.

Every year we assign aliases, character bios, and alibis. We keep track of these things and write clues to confirm their alibis...or not confirm the "killer's". These alibis are sent to the corresponding guests with the invitations on notecards, as well as recorded in our master notebook.

Finished invitations with rough drafts of alibis and bios.

This is a system we find works well. You can find the attached page of clues here. We wrote these for 10 guests plus the two hosts. Drugs and sex are mentioned, for children we would advise changing these things. However these were written for a very specific group of young adults. Unfortunately I don't have the bios for everyone anymore but it shouldn't be hard to come up with something based off of the alibi clues. If you really can't come up with anything email us and we will track it down for you from our files which are not with me currently.

For props and such we tend to DIY a lot of things. We did buy some crime scene tape and evidence markers (not shown) at a Halloween store, but for the most personalized experience we choose to make most things. It also usually costs less. For instructions on what you see below and a couple more ideas check out our Cop Party DIYs


DIY Laminate Badges
Unfinished DIY Mugshot Background
 
You can also find a list of rules here. These are what we found works best to keep the party going for a decent amount of time.

If you have any additional questions or would like more information on this years clue party feel free to email us at our contact email or comment below. We will do our best to track down some more of the info. We apologize for not having the answer to the mystery posted, we have it on file and will post it here pretty soon.

We recommend explaining the rules to everyone as they come in, it makes it easier not to break character from that point forward. We do this every Halloween, so this is from the 2014 clue party. We will post 2015's party after it's conclusion so our guests can't cheat...not that we think they would.

Until Next Time, 
John and Courtney

Tuesday, February 10, 2015

5 "Beauty" Products We BOTH Can Use

By: Courtney

Sometimes a guy just needs an extra pick me up in the morning...that's when these things can get nabbed from your makeup bags.

1- Primer. There are so many different types of primers out there! And guess what? They aren't just for women. Yes, they make primers specifically marketed towards men, but you don't have to spend extra to get what you want! There are so many different primers with so many benefits. They make everything from mattifying, pore minimizing, hydrating, to acne treatment and so much more! Our current favorite: NYX Tea Tree Balance Skin Elixir.

2- Tinted Moisturizers/Tinted face gels. Guys should feel good in their own skin too! These moisturize your skin while toning down any redness or acne, which can be especially good if you have photos to be taken or a special occasion to go to. My Current Favorite: Pixi H2O Skintint.

3- Clear Nail Polish. If you have fragile nails, it can be painful to have one break. Using a strengthening top coat on your nails will protect them from wear and make them less likely to break.

4- Lip Balms. Girls want their men to have soft kissable lips, plus it's no fun to have dry, chapped lips. That can lead to them splitting and bleeding and who wants that? I'm pretty sure John uses my EOS lipbalms more than I do. But I'm not complaining! My favorite? Malin + Goetz Mojito Lip Balm

5-Face Masks. Seriously guys just try them. These can have great benefits for the skin. Most of the time these are more marketed towards girls, but it really isn't just for one gender. So pick up a few or make your own, your skin might just thank you! We like honey and oatmeal masks, as they have great healing properties!

Before you go thinking he goes out of the house everyday will all of these things on (which would be perfectly acceptable in my opinion), these tend to be things that he'll grab for every once in a while, like if his face is particularly oily, or abnormally red and irritated...except maybe my lip balms. I'm pretty sure he uses them at least once a day. But most of the time, these things are more for special occasions.

See you next time!

Wednesday, February 4, 2015

The Trial Period

By Courtney

This last week John and I got a rare opportunity to spend some time together. I was house sitting for my aunt and uncle who went to Hawaii. Now at this particular time John and I are not currently living in the same house. We don't have the money to move just yet and my job(s) has not been stable enough for me to pay rent.

So any time John and I spend the night together is a blessing-not because we want to have sex but because we want quality time and the comfort of being close to each other. We've had quite a few nights together on trips and such, but nothing like this.

We already knew that we make awesome travel companions with my mad planning skills and his level head and fun-loving personality. But this week we got to take away the stress of travel and add in the stress of daily life which includes college and work. I think we definitely learned a few things about ourselves.

For one, if we think we can get away with it, we leave dishes until the last minute. Oh, and there's the fact that neither of us want to cook after a long day--which results in a fast food run. But on the flip side we got to work out morning routines and we realized we both like to talk before bed.

I think what I gained from this last week is that living together is going to change our lives more than we predicted. I'm not just looking forward to sleeping next to him like I do on trips, I'm looking forward to seeing him after a long day at work and the snuggle time in the morning and before bed when we end up laughing like idiots, I'm excited about renting movies and staying in eating mac n cheese then playing board games. I can't  wait to walk the dog with him and know that he's right by my side at  all hours of the night. It really is the little things that I'm looking forward to.

So as this week draws to a close it makes me realize all the things I'm going to miss. However this is just the trial period for something that will hopefully be happening in a month or two. I feel like we are so close to that point but so far away.

Until next time,
Courtney